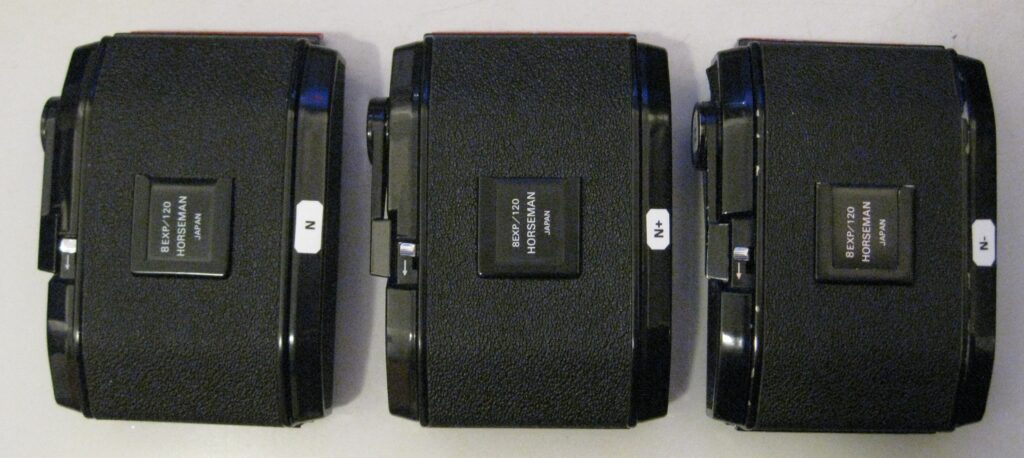
Light leaks in a camera can be hard to detect and even harder to fix. For my Plaubel Peco Junior (6×9) I constructed a new back that can hold Horseman 6×9 magazines. I have three of the magazines which are supposed to let me use one for exposures entitled to normal (N) development and one each for a reduced (N-) and and an extended (N+) development. This still is not as good as the flexibility when using sheet film, but at least allows some development adjustment for the negative contrast.
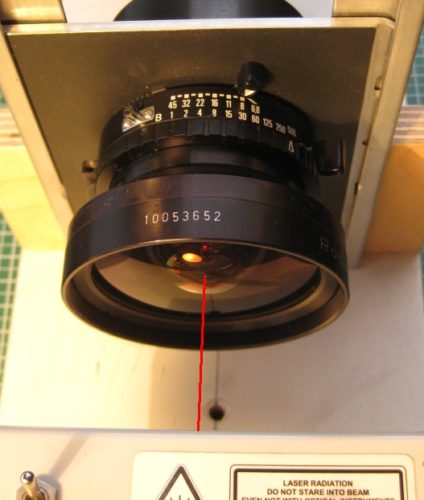
Recently I spotted some minor but well visible light leaks with one of the magazines. So the first question was, where exactly does the light come from. To test for this leak, but also to generally inspect the light-tightness of the camera, I built a simple testing device. An ordinary E27 bulb socket was mounted to a makeshift lens-board (made from stiff cardboard) which was equipped with a 220V LED spot light.
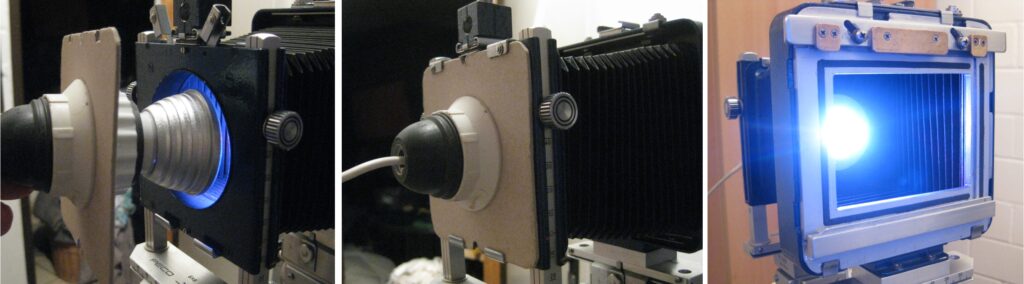
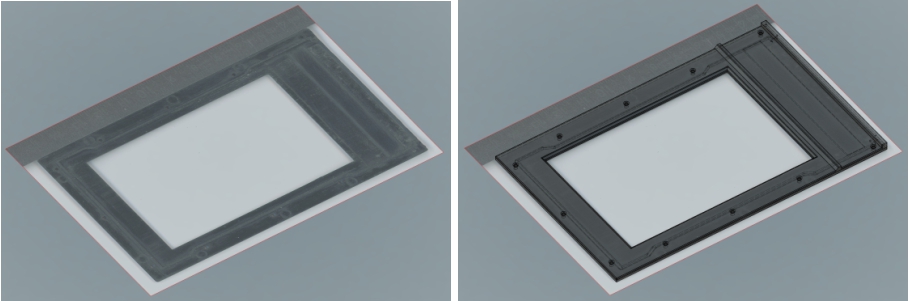
The tests were made in my darkroom after accommodating the eyes to the darkness. The very bright LED allows to detect even the smallest leaks of the bellows and its connections as well as at the back standard. The leak which I was looking for showed up between the camera back and the film magazine. While most parts of the Horseman magazines are metal, the back plane is black plastic material and this one showed some wear and tear (all three magazines were bought used). So I decided to try out and replace the plastic plate which is attached to the cassette by 11 small screws. The side of the plastic plate which faces the body of the magazine shows a small embossed frame which fits into a grove in the body and functions as the light seal between the two parts and around the dark-slide. As this small frame has a complicated shape I scanned the original part on a flat bed scanner and used the scan as the base for the design of the frame in a CAD program.
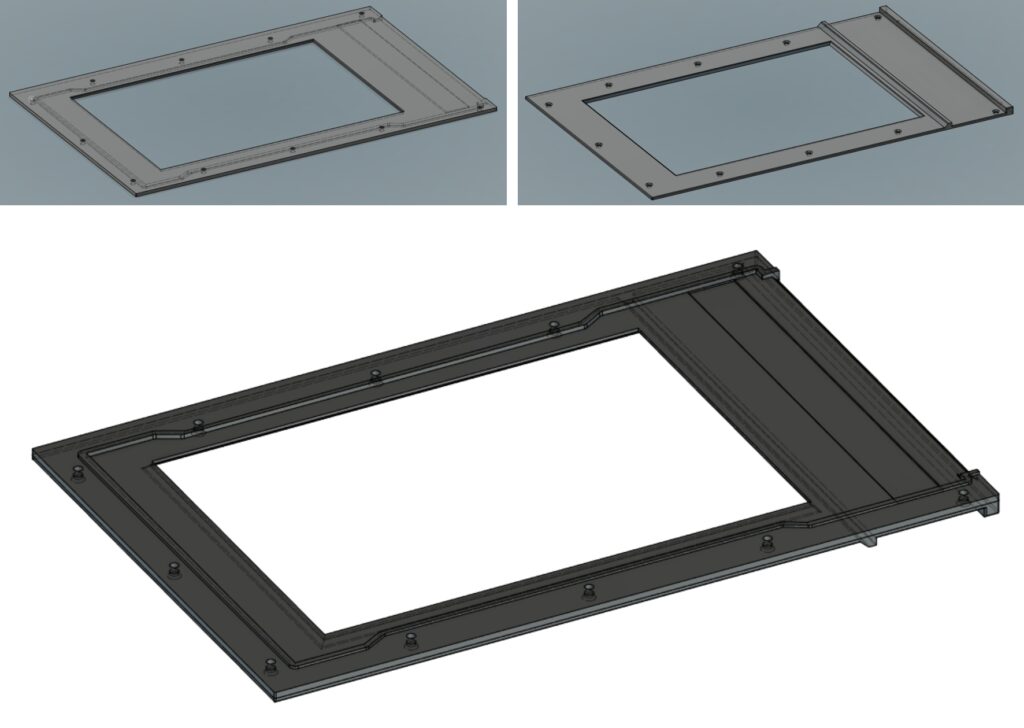
My son made a first test print on his 3D printer and after two rounds of adjustments the plate did fit snug on the magazine body. One round was necessary because I had forgotten to leave the extra space of 0.2 mm of thickness of the plate for the dark-slide. Because the side of the plate facing the camera also has embossed parts the specimen would have needed supports during the printing (neither side is flat). However, when such supports are removed after the printing, the remaining surface is usually not really flat and needs a lot of reworking (file and sandpaper). So finally we horizontally split the plate into two parts and these could be 3D printed without any support and the 11 screws hold the two haves together even without any glue.
The next figure shows the new plate for the magazine as it came out of the 3D printer and installed on the 6×9 magazine.
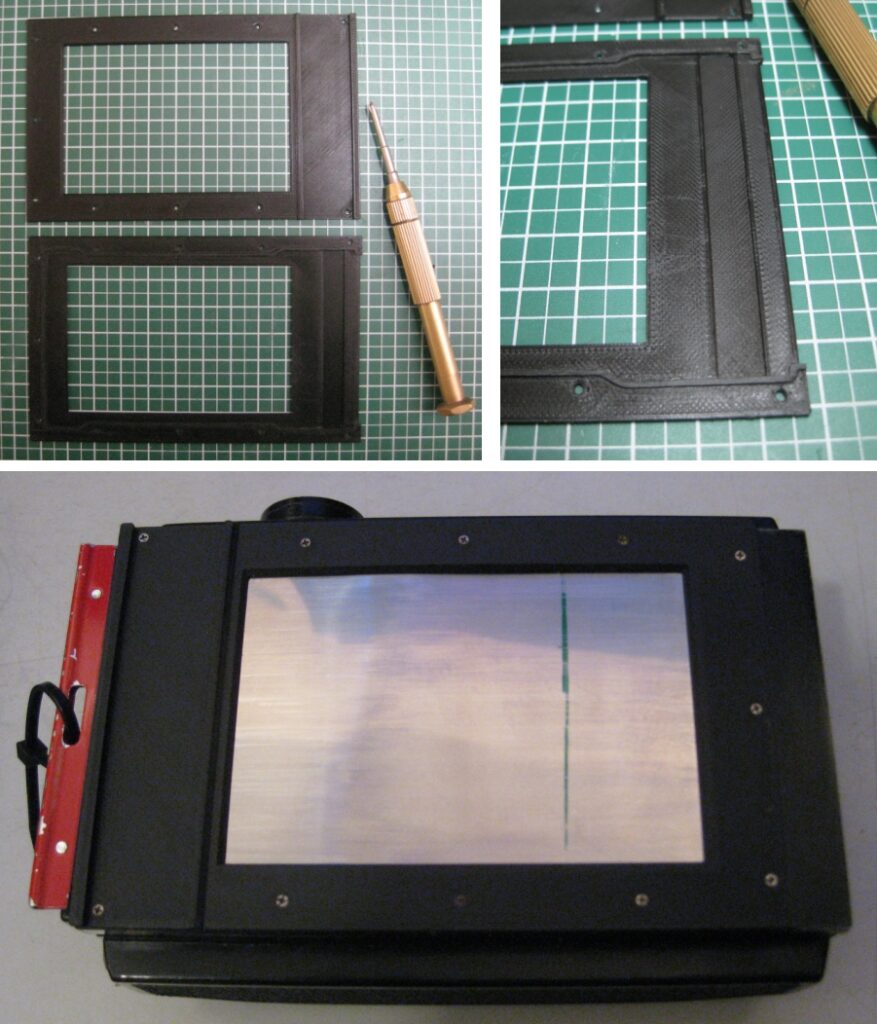
After some adjustment of the light seals on the camera back, all three magazines were tested and did not show any light leaks. In addition to the connection between magazine(s) and camera back, I also tested the light-tightness concerning the dark slides of the magazines. First with the dark slide pulled out, the sealing of the slot could be inspected and second, after removing the film holder the edges around the dark slide itself could be tested for any leaks.